


Recent Blog Posts
-
How to repair scuffs & scratches on leather
-
How to clean a leather sofa
-
How to clean aniline leather
-
How to restore leather
-
How to change the color of a leather sofa
-
How to repair a tear in a leather sofa
-
How to repair cat scratches on leather
-
How to repair a cut in leather
-
How to soften leather
-
How to repair a burn in leather
-
How to restore a leather car seat
-
How to remove stains from leather
-
How to change the color of leather car seats
-
How to restore a convertible roof
-
How to restore a shoes shine
-
How to clean classic car leather seats
-
How to get a spare piece of leather
-
How to fix a hole in a leather car seat
-
How to repair a chip in wood
-
How to repair deep scratches in wood
-
Oiling decking - How to apply decking oil
-
How to oil A chopping board
-
How to prevent staining, color loss and general wear
-
How to restore and protect your cutting board
-
How to clean and restore garden furniture
-
How to clean leather

How to repair deep scratches in wood
Wooden Furniture can get knocked causing scuffs, scratches and small chips. This guide is aimed at teaching you how get professional results when repairing wood using the Hard Wax Repair Kit for wood.
PRODUCTS REQUIRED
- Hard Wax Wood Filler - replaces the missing wood from chips or dents
Method
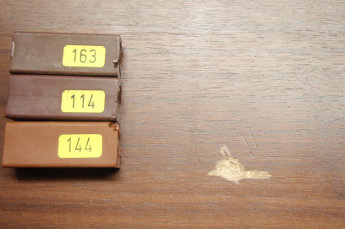
This repair is being done using the Dark Hard Wax Repair Kit.It would be difficult to get the Soft Wax filler to stay in this type of damage and so this is why we are using the Hard Wax Fillers.
We have selected three shades of wax stick that best resemble the wood we are repairing.
STEP 1:
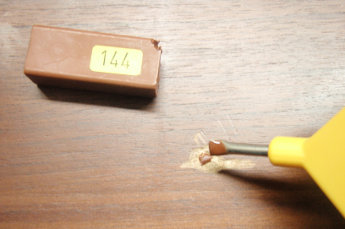
Select the lightest of the wax sticks and melt a little onto the heat tool.
Drip the melted filler into the scratch and keep filling the damage until it is full.
You don't have to be neat, it doesn't matter if the filler spills over the edge as it will be reduced down later on.
This stage acts as a base for the repair.
STEP 2:
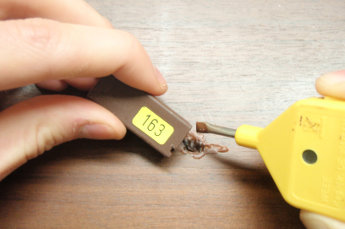
Using a darker shade of wax stick, melt a few drops onto the lighter shade that you filled the scratch with.
Using the heat tool, mix the two colors together to achieve a colour close to the color of the wood.
If it isn't dark enough, keep dripping in small amounts of the darker colour stick.
STEP 3:
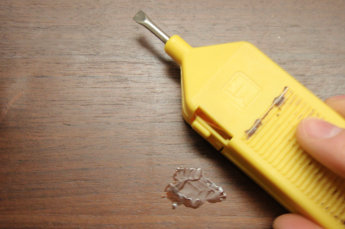
When you have a mixture that is a good match to the wood, use the side of the heat tool and rub it over the filler in the direction of the grain.
This will reduce the excess filler making it level with the rest of the wood.
There is also a small piece of abrasive pad supplied in the kit, which you can use after this to remove any remaining wax on the surface.
STEP 4:
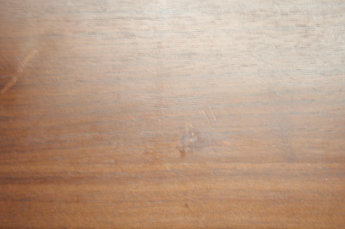
The photo to the left shows the completed repair.
Additional colours can be melted onto the repair and applied to mimic the grain pattern, using the edge of the heat tool to apply thin (grain like) lines across the repair.
This technique hasn't been used here as it wasn't necessary, but it could be used if the repair stood out a little at this stage.


